Ker-Ys
Ker-Ys is ANKOU’s first map: a storm-lashed island off Finistère, in November 1946. Fishing harbor, Saint-Gwénolé chapel, sailors’ graveyard, Atlantic Wall trenches and bunker, a dark lighthouse… and, beneath the cliffs, the sunken ruins of the city of Ys. Its main Easter egg, “The Awakening of Ys,” is covered step by step on the The Awakening of Ys page.
Story and atmosphere
According to Breton legend, the city of Ys was swallowed by the sea when Princess Dahut, daughter of King Gradlon, opened the city’s floodgates. On Ker-Ys, the legend has come back to life: beneath the German bunker, Project Morgane, led by Dr. Élise Kervran and Dr. Mathis Keller, studied a strange sample from the sea, and now the Ankou’s Drowned rise from the waves every night.
You discover the island from the harbor up: you land on the quay, climb Church Street to the chapel and the graveyard, cross the trenches and the bunker, then go down into the engine room, the Morgane Laboratory and the sea cave that leads to Sunken Ys. The lighthouse, to the northwest, overlooks the whole island. The five radio transmissions hidden on the map tell the rest of the story (see the secrets).
Starting point
You start on The Quay, the only zone open at the start of the match. The Mystery Box appears at random at one of its three starting spots: the foot of the breakwater (Quay), the Le Goff Bakery (Church Street) or the chapel nave. The quay itself already has two wall weapons, the Second Wind Perk, a gumball dispenser and a workbench.
The Easter egg objective is shown at the top left from the start of the match, with purple markers on what to find, and the Objective panel leads you to the power (lever and next door). The first radio set, upstairs in the Harbor Office on the quay, tells the island’s story.
The zones
Ker-Ys has thirteen zones. Each zone’s name appears on screen when you enter it.
| Zone | Access (door, price) | What you’ll find |
|---|---|---|
| The Quay | starting zone | two-story Harbor Office, sardine cannery, pier on stilts, harbor basin; Perk, 2 wall weapons, Mystery Box, dispenser, workbench |
| Church Street | Harbor Stairs (750) from the Quay | sloping cobbled street, Dahut Square and its fountain, Café de la Marée, Le Goff Bakery; Perk, 2 wall weapons, Mystery Box, dispenser |
| Shipwreck Beach | Beach Slipway (750) from the Quay, Customs Path (1,000) from the chapel | sandy cove, wreck of the trawler “Le Morgane,” lifeboat shelter, casemate, fisherman’s hut; Perk, 1 wall weapon |
| Saint-Gwénolé Chapel | Saint-Gwénolé Alley (1,000) from the street, Customs Path (1,000) from the beach | Gothic nave and great stained-glass window, bell tower, sacristy, churchyard with calvary and well; Perk, 2 wall weapons, Mystery Box |
| Sailors’ Graveyard | Graveyard Gate (1,000) from the street, Wall Breach (1,250) from the trenches | rows of graves, arcaded ossuary, great Celtic cross, sealed funeral chapel; Perk, 1 wall weapon, Mystery Box |
| King Gradlon’s Crypt | sealed: opens during the Easter egg | vaulted hall under the graveyard, the king’s sarcophagus |
| The Trenches | Garrison Roadblock (750) from the street, Wall Breach (1,250) from the graveyard, Observation Post (1,000) from the lighthouse | crenellated main trench, footbridges, Flak pit, searchlight, mound shelter; Perk, 2 wall weapons, Mystery Box, dispenser, fire trap |
| The Bunker | Bunker Armored Door (1,000) from the trenches | blast door, main corridor, dormitory, ammo store, command room, gun casemate, ventilation room; Perk, 1 wall weapon, Mystery Box, electric trap |
| The Engine Room | Service Stairs (500) from the bunker | generators, diesel engine, Power switch; 1 wall weapon |
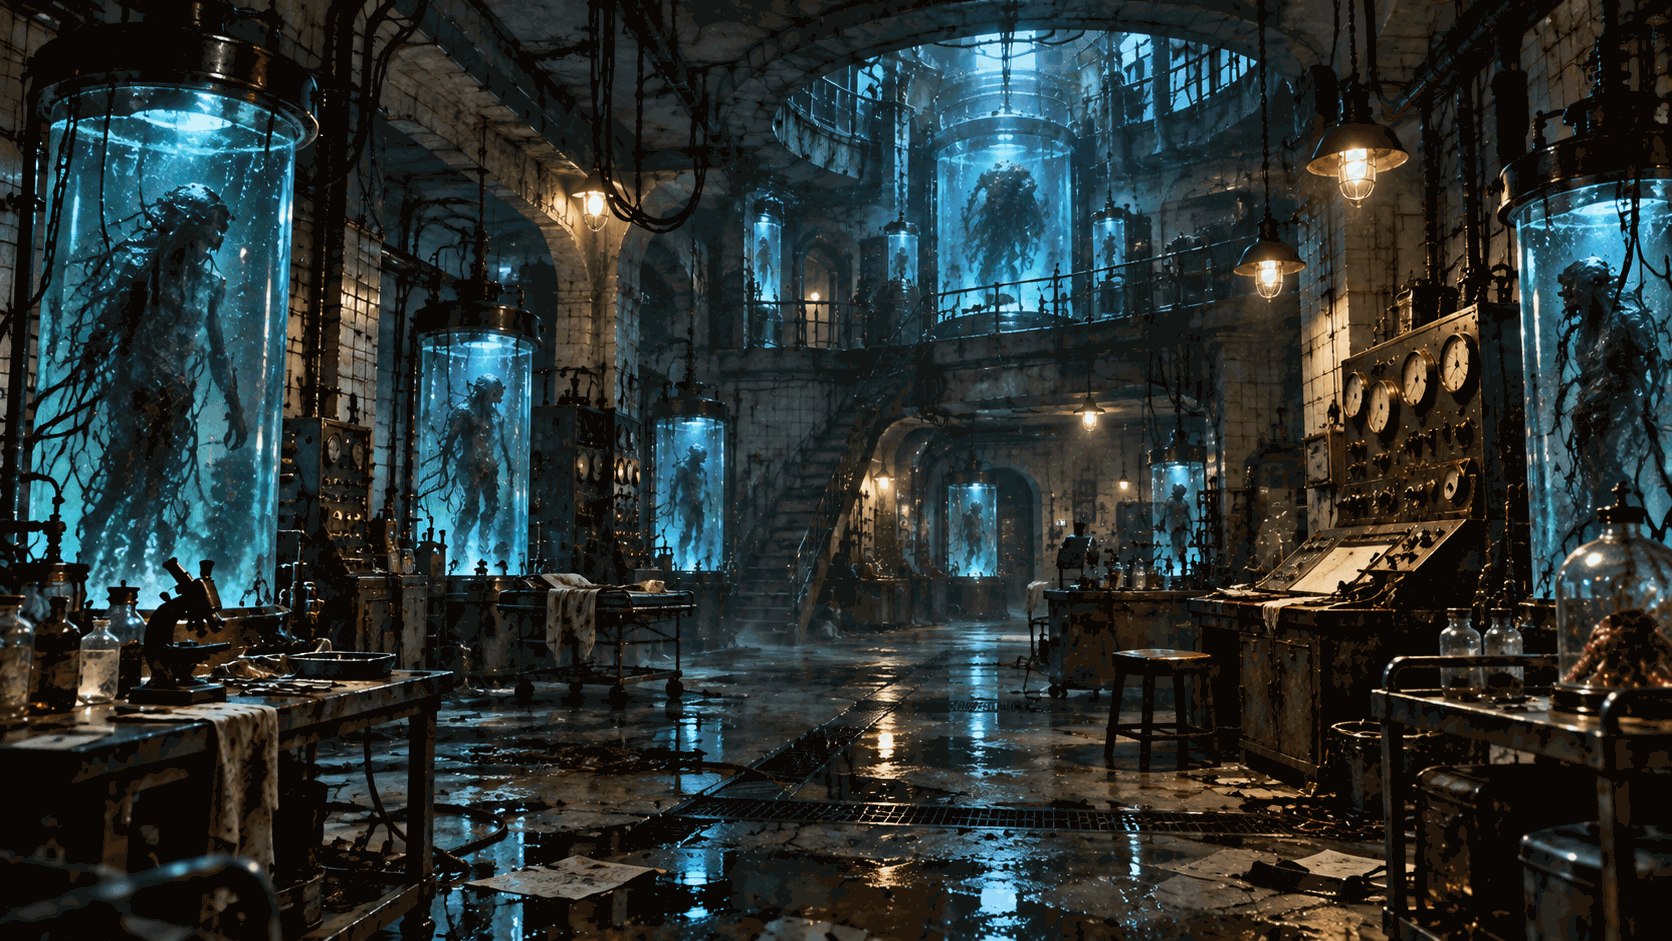
| Morgane Laboratory | Laboratory Blast Door (1,500) from the engine room | decontamination room, main laboratory, archives, operating room, crystal chamber, workshop; Perk, 1 wall weapon, Mystery Box, dispenser, workbench |
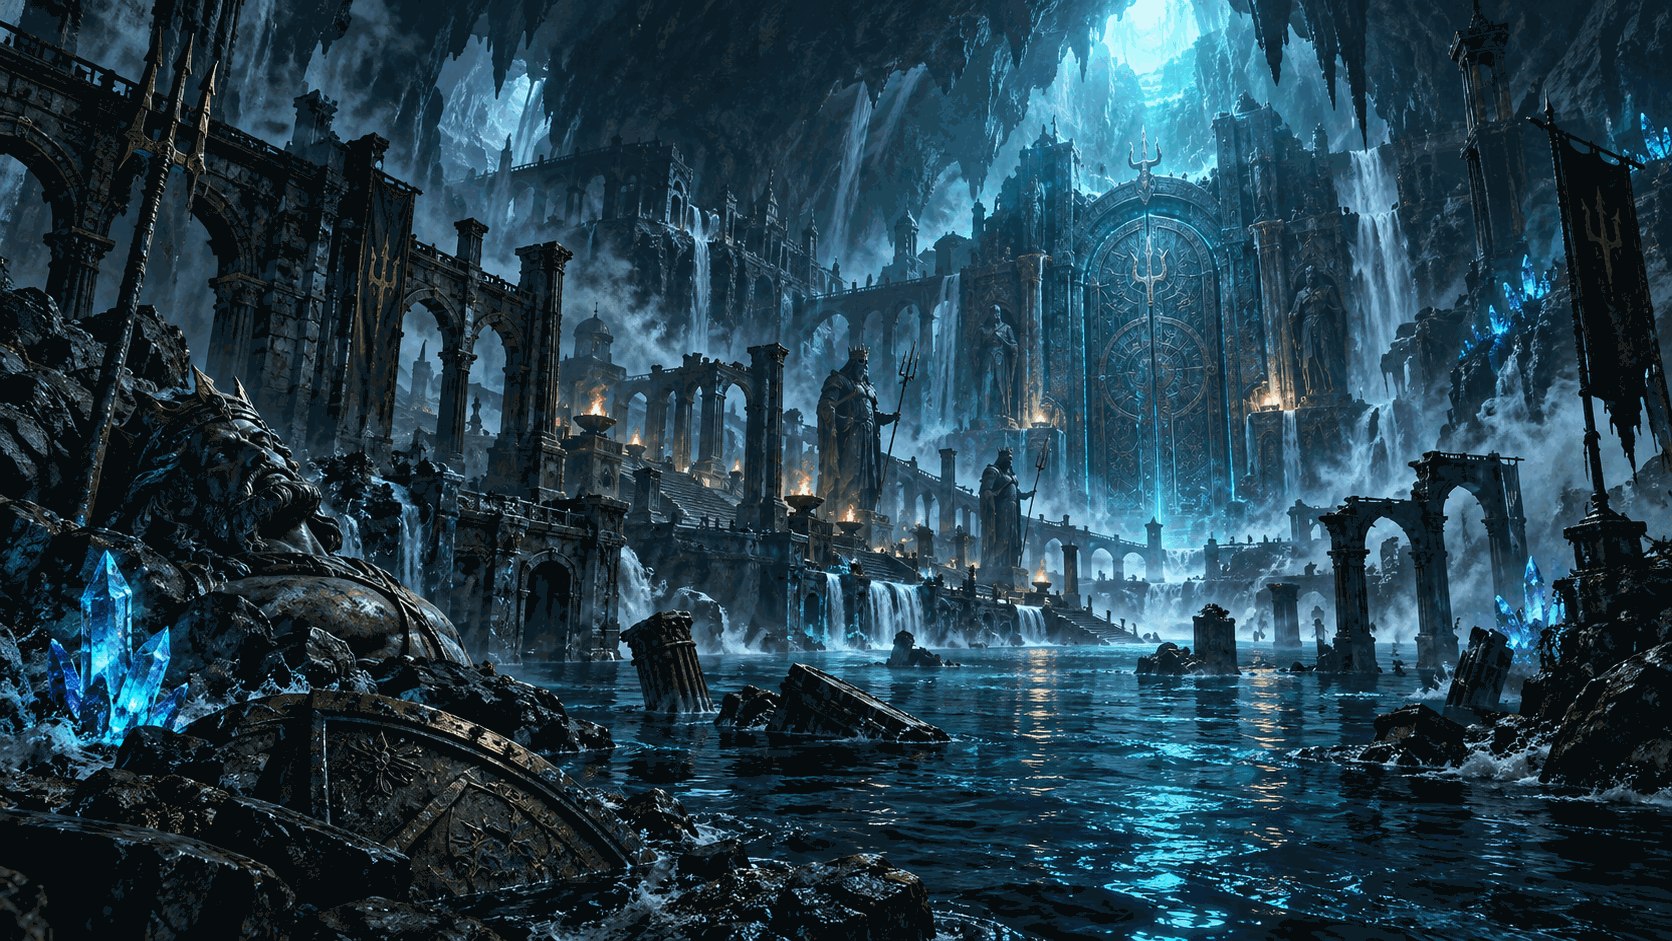
| Dahut’s Cave | Evacuation Tunnel (1,250) from the lab, Rock-Cut Stairs (1,250) from the lighthouse | sea cave, pools, flooded channel, monumental Gate of Ys and its four glyph menhirs; hidden Perk |
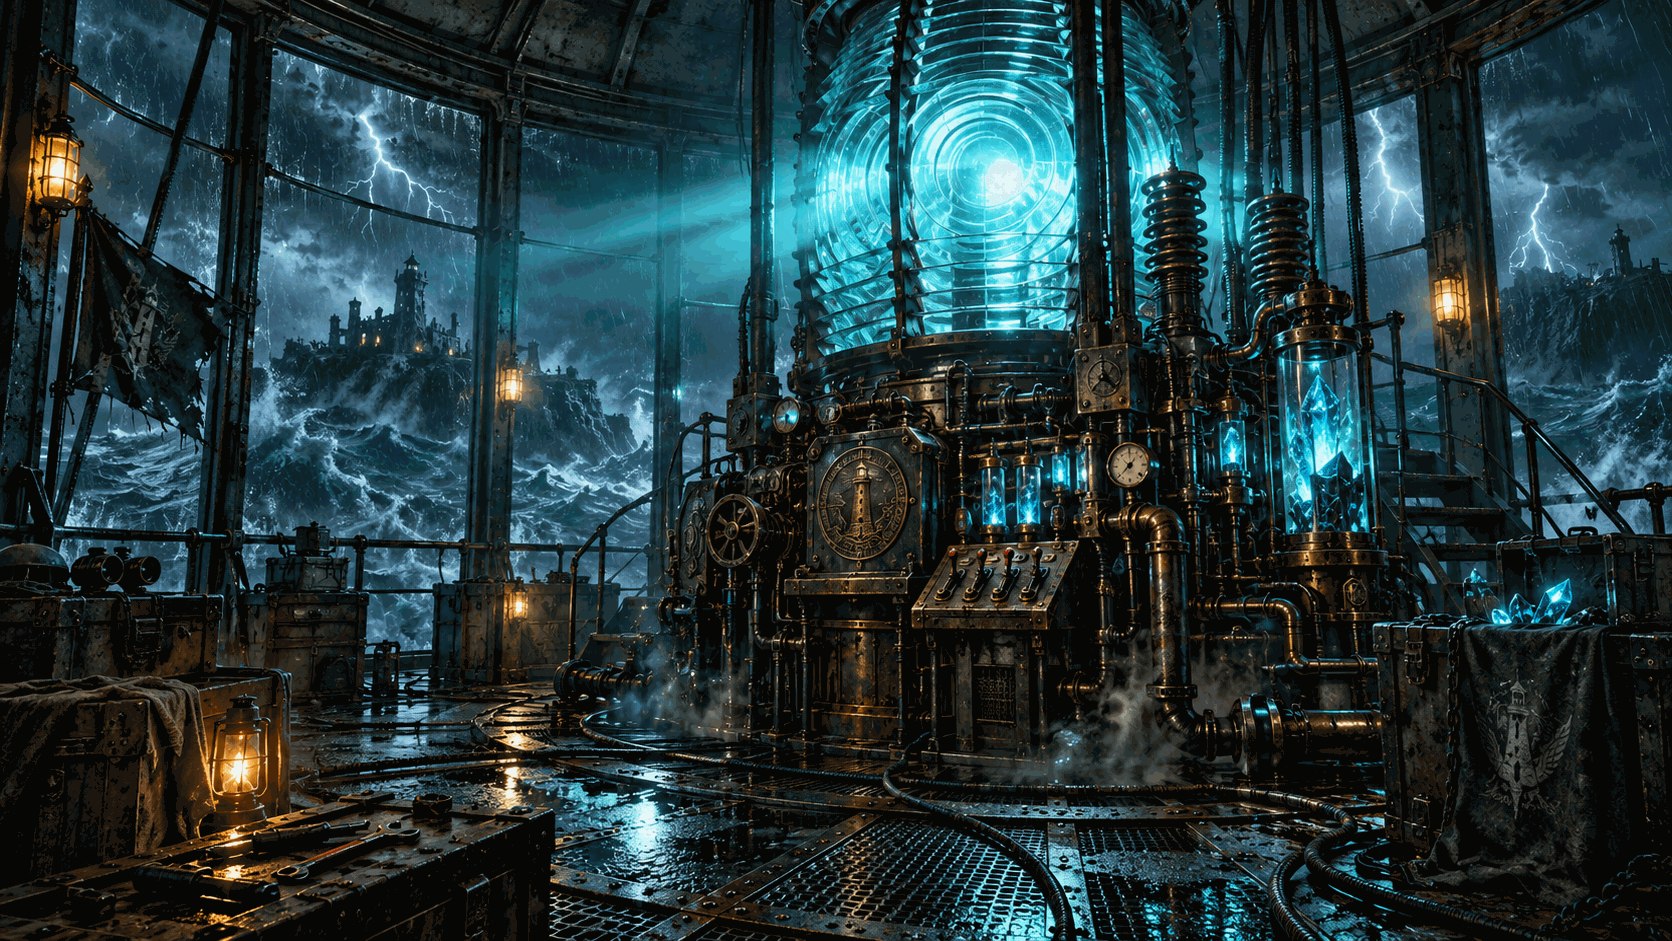
| Ker-Ys Lighthouse | Lighthouse Moor (1,250) from the chapel, Observation Post (1,000) from the trenches, Rock-Cut Stairs (1,250) from the cave | tower, spiral staircase, lantern room (Forge of Ys), outer gallery, keeper’s house, moor; Perk, 1 wall weapon, Mystery Box |
| Sunken Ys | Gate of Ys: opens at the end of the Easter egg | antechamber and grand staircase, flooded square, colonnade, two ruined temples, statue of King Gradlon |
There is no transport on Ker-Ys: you go everywhere on foot. Zones closed off by barriers let zombies in through their windows; Divers climb out of the water on the Quay, on Shipwreck Beach and in Dahut’s Cave.
Doors and prices
| Door | Connects | Price |
|---|---|---|
| Harbor Stairs | Quay – Church Street | 750 |
| Beach Slipway | Quay – Shipwreck Beach | 750 |
| Customs Path | Shipwreck Beach – Chapel | 1,000 |
| Saint-Gwénolé Alley | Church Street – Chapel | 1,000 |
| Graveyard Gate | Church Street – Sailors’ Graveyard | 1,000 |
| Garrison Roadblock | Church Street – Trenches | 750 |
| Wall Breach | Sailors’ Graveyard – Trenches | 1,250 |
| Lighthouse Moor | Chapel – Lighthouse | 1,250 |
| Observation Post | Lighthouse – Trenches | 1,000 |
| Bunker Armored Door | Trenches – Bunker | 1,000 |
| Service Stairs | Bunker – Engine Room | 500 |
| Laboratory Blast Door | Engine Room – Morgane Laboratory | 1,500 |
| Evacuation Tunnel | Morgane Laboratory – Dahut’s Cave | 1,250 |
| Rock-Cut Stairs | Dahut’s Cave – Lighthouse | 1,250 |
| King Gradlon’s Crypt | Sailors’ Graveyard – Crypt | Easter egg |
| Gate of Ys | Dahut’s Cave – Sunken Ys | Easter egg |
Opening every paid door costs 15,750 points. General door rules are explained in Doors, barriers and Power.
Power
The Power switch is at the back of The Engine Room, under the bunker. The cheapest path from the quay: Harbor Stairs (750) → Garrison Roadblock (750) → Bunker Armored Door (1,000) → Service Stairs (500), for 3,000 points (free on Easy difficulty, where doors cost nothing while the power is off). Through the graveyard (Graveyard Gate, then Wall Breach), it costs 1,500 more.
Power runs the Perk machines (except Second Wind in solo), the Forge of Ys and the bunker’s electric trap; it also lights the trench searchlight and starts the Easter egg. The fuel trap in the trenches works without Power.
Wall weapons
| Zone | Weapon | Price | Location |
|---|---|---|---|
| The Quay | M14 | 500 | on the street’s retaining wall, near the Harbor Stairs |
| The Quay | Double-barrel shotgun | 500 | on the front of the sardine cannery |
| Church Street | MP40 | 1,000 | inside the Le Goff Bakery |
| Church Street | Remington 870 | 1,200 | on the front of the Café de la Marée, street side |
| Shipwreck Beach | Thompson M1928A1 | 1,200 | inside the lifeboat shelter |
| Saint-Gwénolé Chapel | Kar98k | 500 | in the nave, east wall |
| Saint-Gwénolé Chapel | StG 44 | 1,400 | in the nave, west wall |
| Sailors’ Graveyard | MP5A3 | 1,100 | west wall, near the Graveyard Gate |
| The Trenches | M1 Garand | 800 | on the anti-tank wall, to the east |
| The Trenches | PPSh-41 | 1,200 | in the main trench |
| The Bunker | M16A4 | 1,200 | in the main corridor |
| The Engine Room | SPAS-12 | 1,500 | near the bottom of the Service Stairs |
| Morgane Laboratory | AKS-74U | 1,200 | in the main laboratory |
| Ker-Ys Lighthouse | Mosin-Nagant M91/30 | 700 | inside the keeper’s house |
Each weapon’s stats are on its page (Weapons).
Perk machines
| Zone | Perk | Location |
|---|---|---|
| The Quay | Second Wind | inside the Harbor Office |
| Church Street | Quicksilver | inside the Café de la Marée |
| Shipwreck Beach | Marathon | inside the fisherman’s hut |
| Saint-Gwénolé Chapel | Mule | in the sacristy |
| Sailors’ Graveyard | Lead Hail | under the ossuary arcades |
| The Trenches | Carapace | in the mound shelter |
| The Bunker | Menhir | in the command room |
| Morgane Laboratory | St. Elmo’s Fire | in the main laboratory |
| Ker-Ys Lighthouse | Lynx Eye | inside the keeper’s house |
| Dahut’s Cave | Ankou’s Web | hidden: the machine only appears after the Easter egg’s bell step |
You can hold 4 Perks (5 with the Stone Gulls secret, see below). Prices and effects: Perks.
Mystery Box
The Mystery Box starts at one of the first three spots, then moves when the teddy bear shows up.
| Zone | Location | Possible start |
|---|---|---|
| The Quay | foot of the breakwater | yes |
| Church Street | Le Goff Bakery | yes |
| Saint-Gwénolé Chapel | nave | yes |
| Sailors’ Graveyard | south wall | no |
| The Trenches | road wall | no |
| The Bunker | ammo store | no |
| Morgane Laboratory | main laboratory | no |
| Ker-Ys Lighthouse | keeper’s house | no |
The teddy bear that makes the box fly away is Morgane’s Teddy, belonging to Dr. Kervran’s daughter: its first appearance is recorded in the Archives.
Forge of Ys
The Forge of Ys (weapon upgrades) is in the lantern room, at the top of the lighthouse: climb the tower’s spiral staircase. It needs Power. The lighthouse lens, next to it, is used in the Easter egg. During the Easter egg’s Lighthouse vigil, the Forge is busy with the Silver Key.
Gumball dispensers
Four Korrigan’s Gumballs dispensers:
- The Quay: on the quay, next to the Harbor Office;
- Church Street: on Dahut Square;
- The Trenches: along the road wall;
- Morgane Laboratory: inside the laboratory.
Traps
Each trap costs 1,000 points, stays active for 25 s and then recharges for 60 s. Zombies and hounds that enter the area die (without giving points); a player caught inside loses 20 health per second in the fire (you can get through it), 60 in the electric trap.
| Trap | Zone | Power | Activation |
|---|---|---|---|
| Fuel trap | The Trenches | no | two levers, at both bends of the trench section with the drums and jerrycans, clear of the flames |
| Electric trap | The Bunker | yes | two switches, at both ends of the electrified corridor leading to the casemate |
Buildables
Two items are built from three parts each. At the start of the match, each part spawns at only one of its possible spots, chosen at random: check them all. You can only carry one part at a time; place it on the workbench by holding F. Shared rules: Buildables.
Sailor’s Shield — workbenches: the Quay (at the foot of the street wall, near the Harbor Stairs) or the Morgane Laboratory workshop. The build stays at the first workbench where you place a part. Each player can then take one.
| Part | Possible spots |
|---|---|
| Armored door | Quay (near the abandoned Traction car) · Church Street (against the wrecked Traction at the top of the street) · Chapel (against the rector’s old car) |
| Brass porthole | Quay (on the Harbor Office counter) · Beach (torn from the wreck’s hull, on the sand) · Church Street (on the café counter) |
| Leather straps | Quay (in the nets) · Beach (in the fisherman’s hut) · Chapel (on the sacristy table) |
Dahut’s Trident — workbench: Morgane Laboratory workshop only. It gives the wonder weapon Dahut’s Trident; there is only one (if it is lost, it returns to the workbench). See Wonder weapons and special weapons.
| Part | Possible spots |
|---|---|
| Harpoon shaft | Beach (harpoon fallen from the wreck’s deck) · Graveyard (against an open grave) · Trenches (near the machine-gun nest) |
| Coral head | Dahut’s Cave (on the edge of the pool) · Laboratory (among the crystals of the crystal chamber) |
| Black pearl | Engine Room (on the workbench) · Bunker (among the shells in the casemate) · Laboratory (on the operating room bench) |
Secrets of the island
Besides “The Awakening of Ys” (The Awakening of Ys), Ker-Ys hides several secrets. Each can only be done once per match (except the well); the first five give 2,500 XP to every player present and are recorded in the Archives.
The Melody of Ys
The three conches
Three conches lie around the island: at the end of the pier (Quay), in the Le Goff Bakery attic (Church Street) and in the trenches’ mound shelter, near Carapace. Hold each one to your ear (F), in any order: a few seconds after the third, the secret song “Ys” starts playing.
The Stone Gulls
Five statuettes on the rooftops
Shoot the five stone gulls perched up high: on the Harbor Office roof ridge (Quay), on a rock on the beach, on the chapel roof ridge, on top of the great graveyard cross and on the bunker roof. Once all five are broken, every player gains one Perk slot (5 instead of 4), including players who join later. It is the map’s most useful secret: do it early.
The Will-o’-the-Wisps
The graveyard’s Tan-Noz
A will-o’-the-wisp glows above a grave in the Sailors’ Graveyard, on the east side. Shoot it: it flies off to another grave. Follow it and shoot it each time, four times in all. If it sits for more than 45 s without being hit, it grows weary and returns to its first grave: you have to start over. The fourth shot sends it to go out in the ossuary, in front of Lead Hail, where a Mystery Elixir drops (a free Perk for each player).
The Wishing Well
An explosive offering
In the chapel churchyard, near the Lighthouse Moor door, stands an old well. Blow up a grenade inside it (Frag grenade, Semtex, Molotov cocktail, a web grenade from Ankou’s Web) or a 40 mm shell: a little over a second after the splash, a Power-up springs out in front of the well’s rim. One wish per round: the well stays silent until the next round. The first wish reveals the secret.
The Mass for the Dead
Serve the drowned rector’s Mass
- In the chapel nave, knock on the confessional (F): the dead rector asks for someone to serve his Mass, and the altar candles burn with a blue flame.
- Serve the Mass at the altar: the service lasts 50 s and only progresses while at least one standing player is in the nave. Drowned parishioners pour in through the windows and the churchyard, on top of the round, and a pack of the Ankou’s hounds drops onto the churchyard halfway through (2 hounds + 1 per player).
- If the nave stays empty for more than 6 s, the Mass is interrupted; the confessional answers again next round.
- At the “Ite, missa est,” every player inside the chapel (revived if they were down) receives the blessing: the next time they go down, they get up on their own. A Max Ammo drops in front of the altar.
The altar stays silent during the Lighthouse vigil, the siege of the Gate of Ys and the fight against Dahut.
Radio transmissions
Five radio sets tell the story of Project Morgane; each can only be heard once, and only one transmission plays at a time. Listening to the first one unlocks the Easter egg objectives on screen; all five give the “Shortwave” achievement.
| No. | Title | Location |
|---|---|---|
| 1 | “Sample Y-1” | The Quay, upstairs in the Harbor Office |
| 2 | “The song” | Church Street, Café de la Marée |
| 3 | “Gradlon Protocol” | The Bunker, command room |
| 4 | “Morgane” | Morgane Laboratory, archives |
| 5 | “The lighthouse” | Ker-Ys Lighthouse, keeper’s house |
Strategies by zone
- The Quay: the starting zone, wide enough for the first rounds. Avoid the pier, a dead end over the water; Divers can climb out of the harbor basin. Buy the M14 early, it is cheap.
- Church Street: the fountain on Dahut Square lets you circle around it with a horde. The Café de la Marée houses Quicksilver; the Remington 870 is on its front wall.
- Shipwreck Beach: the big sandy cove is ideal for training a horde in a circle, but watch the sea where Divers come out.
- Saint-Gwénolé Chapel: the nave has two wall weapons and a possible Mystery Box spot; the churchyard around the chapel gives an open-air loop. Keep an eye on the nave and sacristy windows.
- Sailors’ Graveyard: large and open, with the cross and rows of graves to circle the horde around. It is also a good place to fill the Easter egg reliquary.
- The Trenches: lead the horde through the fuel trap section, then pull the lever: it works even without Power. Beware of narrow trenches where you can get cornered.
- The Bunker: narrow corridors, poor for training; lure zombies into the electrified corridor toward the casemate and trigger the trap. Menhir is in the command room.
- The Engine Room and the Laboratory: closed underground areas, each with its barricaded windows; you go there for Power, the Trident and St. Elmo’s Fire, but they are hard to hold in later rounds.
- Dahut’s Cave: a big hall with pools and a channel (Divers). This is where the siege of the Gate of Ys takes place: learn the four menhirs’ positions ahead of time.
- The Lighthouse: the moor around the tower makes a wide loop; the lantern room, at the top of the spiral staircase, is a dead end. Go up for the Forge of Ys, not to camp.
Quay → Street (fountain, Café) → Trenches → Bunker → Power, then the Observation Post (1,000) to the lighthouse and the Forge of Ys. The Stone Gulls (+1 Perk) can be done on the way.
Ker-Ys achievements
| Name | Reward |
|---|---|
| The Awakening of Ys Complete the main Easter egg on Ker-Ys. | Emblem “The Awakening of Ys” |
| Secret achievement Find it by playing. | — |
| Rising Tide Complete the main Easter egg in under 75 minutes. | Emblem “Rising Tide” |
| Secret achievement Find it by playing. | — |
| Secret achievement Find it by playing. | — |
| Secret achievement Find it by playing. | — |
| Secret achievement Find it by playing. | — |
| Secret achievement Find it by playing. | — |
| Shortwave Listen to the five Project Morgane transmissions. | Title “Project Morgane Archivist” |
Ker-Ys also hosts an extraction site for the Hideout.
Checked against the game on November 5, 2026