
The Last Metro (Nec Mergitur Easter egg)
“The Last Metro” is the main Easter egg of Nec Mergitur. Guided over the phone by Dr. Élise Kervran, locked inside the ghost station of Cluny, you throw the Odéon points, forge Saint Marcel’s Crosier, awaken the Pillar of the Boatmen, stop the Ankou’s train, drive the Seine back out of Cité, then face the Vouivre on Notre-Dame Square. It can be done with 1 to 4 players.
This page reveals the whole quest, its locations, its mini-bosses and its ending. For the map itself (doors, weapons, perks, trains), see Nec Mergitur.
Overview
| Step | Objective | Location |
|---|---|---|
| 1 | Restore power, answer the ringing phone | Saint-Michel Substation, Cité Shaft |
| 2 | Kill the Switchman and pick up the handle | The three tunnels |
| 3 | Pull the four levers in the notebook’s order | The Signal Box (Odéon) |
| 4 | Defend the stalled train in the junction | Odéon → The Junction → Cluny |
| 5 | Assemble and take Saint Marcel’s Crosier | Cluny, Bièvre Sewer |
| 6 | Complete the four trials of the Pillar of the Boatmen | Crypt of the Boatmen, Saint-Michel, tunnels, trains |
| 7 | Stop the Last Metro and hold its halt | The platform closest to you |
| 8 | Place the Seal of the Boatmen and hold back the flood | Cité and its shaft |
| 9 | Kill the Vouivre | Notre-Dame Square |
What to know before you start:
- Nothing is ever lost for good. No defense can fail permanently: if you all leave the area or go down, the meter pauses (or the train leaves) and you start again at the same spot, with no other penalty.
- Objective hints appear at the top of the screen from the start of the match, at every step (the phones tell the story but are no longer needed to see them).
- Purple markers, with their distance, show where to go: the ringing phone, the Switchman (the marker follows him through the tunnels), the lever frame then the six levers (the order stays in the notebook), the Odéon platform toward Porte d’Orléans, the stalled train, Kervran’s porthole, the Cluny workbench, the pillar, the breaker and the cranes still standing, the live rail during the storm, the Last Metro at the platform, the Seal, the caisson door, the stalled pumps, the Prefecture courtyard and the south tower’s bells. The crosier’s parts are still yours to find: only their area is given, on the scoreboard (see Buildables).
- Numbers grow with the team (see Solo or in a team).
- During each quest defense, normal round spawns are paused: only the defense’s attackers come, and the round resumes afterward.
- Every completed step gives XP to the whole team.
On Easy difficulty (see Lobby and match settings), the Easter egg plays the same way, but the hordes, packs and reinforcements of the steps are half as many, enemies are weaker and the final boss has 40% less health. The match is unranked: the Easter egg time doesn’t count for the record.
Step 1 — Power and the phone
- From Saint-Michel, buy the Substation door and restore power in the Saint-Michel Substation. Announcement: “Power is back.”
- Ten seconds later, a phone rings in the Cité Shaft (Shaft gate, from Cité), in the stationmaster’s office. It keeps ringing until someone answers.
- Answer it: this is Dr. Kervran’s first call. She is at Cluny, and the only way in is through the Odéon junction: the points must be thrown, and the switchman still has the handle as he roams the tunnels. The step is complete as soon as you pick up.
Only one voice on the line at a time: if a teammate is listening to a service phone, the handset gives a busy tone. Wait until their call ends.
Step 2 — The Switchman and the handle
When the call ends, a whistle sounds: the Switchman appears in one of the three tunnels (north or south arm of the Seine Tunnel, or the Odéon Tunnel), chosen at random and never within 12 m of a player. His red and green lantern gives him away in the dark.
- Kill him: his killer immediately picks up the handle and the notebook (if the killer is down, it goes to the standing player closest to the body). If you were carrying a buildable part, it drops at your feet.
- Only the carrier sees the notebook: a message gives them the lever order (“Switchman’s notebook: levers 4, 1, 6, then 2”). The order is random every match: 4 levers out of 6. Write it down or call it out to the team.
- If the Switchman dies without a killer (crushed by a train, killed by a trap), he comes back 4 s later with the handle.
- If the carrier goes down or leaves the match, the handle returns to the Switchman, who reappears in a tunnel 4 s later (“The handle slipped away”).
Step 3 — The Odéon signal box
- At Odéon, open the Signal box door (power is required).
- The carrier inserts the handle into the lever frame. The track diagram (TCO) then shows the notebook’s order in dotted lines, visible to everyone.
- Pull the four levers in order. Any player can pull them.
- One mistake: “Interlock refused” — all the levers drop back and the frame locks for 10 s. Start the sequence again from the first lever.
- All four correct: “The points have switched,” and the track diagram lights up toward Cluny.
Step 4 — The junction train
- At Odéon, board the next train toward Porte d’Orléans. When it leaves, it branches off into the flooded junction instead of turning back.
- In the low point of the junction, the train breaks down: lights out, doors open on both sides, and the Drowned rise from the water at both ends to climb aboard.
- Defend the train: the “Backup power” meter rises as long as at least one standing player is aboard. It fills in 60 s + 10 s per player.
- With 2 or more players, a diver wades up the flooded track toward the train (at 30% of the meter).
- A rat swarm floods in at 50%; a second one at 85% with 3 or more players.
- At 100%, the flood door opens and the train sets off for Cluny, the ghost station closed since 1939. The step is complete on arrival, and the train service now runs through Cluny.
The junction is too deep to cross on foot: a player who steps off is sent back to the platform. If no one is standing aboard for 3 s (14 s if a downed player is still aboard, time to revive them), the train heads back to Odéon on its own. The points still face Cluny: just take the next train. A train that leaves with no player aboard also stalls and comes straight back.
Cover both ends of the car: the Drowned come from both ends of the junction. The doors stay open on both sides for the whole breakdown.
Step 5 — Cluny and Saint Marcel’s Crosier
At Cluny, Dr. Kervran sees you through the porthole of her sealed chamber.
- Knock on the porthole: she tells you about the Vouivre, the dragon of the Bièvre that Saint Marcel once drove away, and where to find the three pieces of his crosier. Listening is optional, but it unlocks the hints.
- Gather the three pieces (each has three possible spots, picked every match):
- Silver volute: at Cluny’s lost and found;
- Stone of Ys: in Kervran’s crates, at Cluny;
- Oak staff: in the Bièvre Sewer (Sewer bulkhead, from Cluny), on the sewermen’s floodgates — on the flushing boat, against the flushing wagon, or on the mooring ledge.
- Assemble the crosier at the Cluny workbench, then take it. The step is complete as soon as a player holds the crosier (in hand, on their back, or in the Forge of Ys).
The crosier is a wonder weapon: St. Marcel’s Crozier. A strike sends out a golden wave in a short cone that knocks down the Drowned, hounds and rats, chains to 4 more victims and pins big enemies (divers, chimeras, named Drowned) for 2.5 s. Hold fire for 0.9 s to unleash the Anathema, a beam that pierces everything up to the first wall. Upgraded at the Forge of Ys (Cluny), it becomes the Crozier of the City.
The crosier is unique: only one player can hold it at a time. Give it to a solid player: they will need it to present it to the pillar, for Ésus’s Felling (step 6) and for the finishing blow on the Vouivre (step 9).
Step 6 — The Pillar of the Boatmen
The Crypt of the Boatmen opens from the Bièvre Sewer (Ruins gate). Present the crosier to the pillar: “Four gods of Lutetia demand their offering.” Its four faces light up as their trials are completed, in any order. Tarvos and Cernunnos progress alongside everything else; Jupiter and Ésus are defenses, only one at a time (“Another pillar trial is underway”).
The objective hint shows the four counters: “Pillar trials — Jupiter · Ésus · Tarvos · Cernunnos.”
Jupiter — Jupiter’s Storm
- In the Saint-Michel Substation, next to the high-voltage panel, use the surge breaker: “Summon Jupiter’s storm” (power required; it stays cold while the pillar sleeps).
- For the whole storm, the Saint-Michel third rail is live, for free: it fries anything that walks on the track. The Drowned come out of both neighboring tunnels and the windows of the station and substation; three rat swarms and a pack of the Ankou’s hounds join in.
- The “Jupiter’s Lightning” meter gains one point per Drowned killed by lightning in Saint-Michel, the substation or the neighboring tunnels (south arm and Odéon): third rail, St. Elmo’s Fire, the Tempest effect, the Crozier of the City’s wave. Other kills don’t count.
- At half the meter, the Thunderstruck comes up a tunnel: a lightning-charged diver (boss bar, a diver’s HP × 1.3). Bullets barely scratch him (a single hit never takes more than 10% of his HP). While he lives, the meter stays locked at 95%.
- Lure him onto the rail: a jolt of 10% of his HP when he steps on it, then 4% every 0.5 s, and he staggers. The rail alone never takes him below 15% of his HP: finish him off with your weapons.
- If no one is in Saint-Michel, the substation or the neighboring tunnels for 4 s, the storm calms: the meter is kept, the Thunderstruck withdraws and the breaker rearms.
Stay on the platform and let the Drowned step down onto the track: the rail does the work. Never set foot on the trackbed during the storm.
Ésus — Ésus’s Felling
- The crosier carrier uses the pillar again: “Invoke Ésus.”
- The Drowned of Lutetia rise from the black water of the ancient quay and climb out of the crypt floor and the quarries; three rat swarms and a pack join in.
- The “Ésus’s Sap” meter only counts Drowned killed with the crosier inside the crypt (wave, chain or Anathema; the victim or the shooter must be in the crypt).
- At 60%, the Boatman of Lutetia rises from the water with his boathook (boss bar). He has at least 14,000 HP (28 times a Drowned of the current round, +50% per extra player) and a single hit never takes more than 8% of his health. He performs a circular boathook sweep (3.4 m radius, 65 damage), telegraphed 0.85 s ahead when a player is within 2.8 m, at most every 5.5 s. The crosier’s wave pins him in place: pin him, then strike. He is worth 500 points to his killer. While he lives, the meter stays locked at 95%.
- If no one is in the crypt for 3 s, Ésus falls silent (meter kept): invoke him again at the pillar, crosier in hand.
Tarvos — the three cranes
Three stone cranes are perched on the tunnel walls, at the height of the train windows: one in the north arm of the Seine Tunnel, one in the south arm, one in the Odéon Tunnel. They only fall to shots from a passenger on a moving train (a regular train, not a parked one), and only once the pillar is awake; otherwise the bullet ricochets. Board a train and shoot through the window as you go by. You need 3, whatever the number of players.
Cernunnos — the iron serpent
Cernunnos wants to see Drowned crushed by a moving regular train (“Under the iron serpent: n Drowned crushed”). Only the Drowned count: hounds, rats and divers don’t (divers can’t be crushed, they stop the train). Lure the Drowned onto the track in front of an oncoming train while you stay on the platform: a player on the track makes the train brake, or even gets hit.
After the four faces
The four faces shine, but “the pillar stays silent”: the fifth face, Smertrios’s, won’t open. Six seconds later, a forgotten machine lights up in the crypt: the Ankou’s Web perk is now available. Kervran calls again: you need the Ankou’s Handbell.
Step 7 — Stop the Last Metro
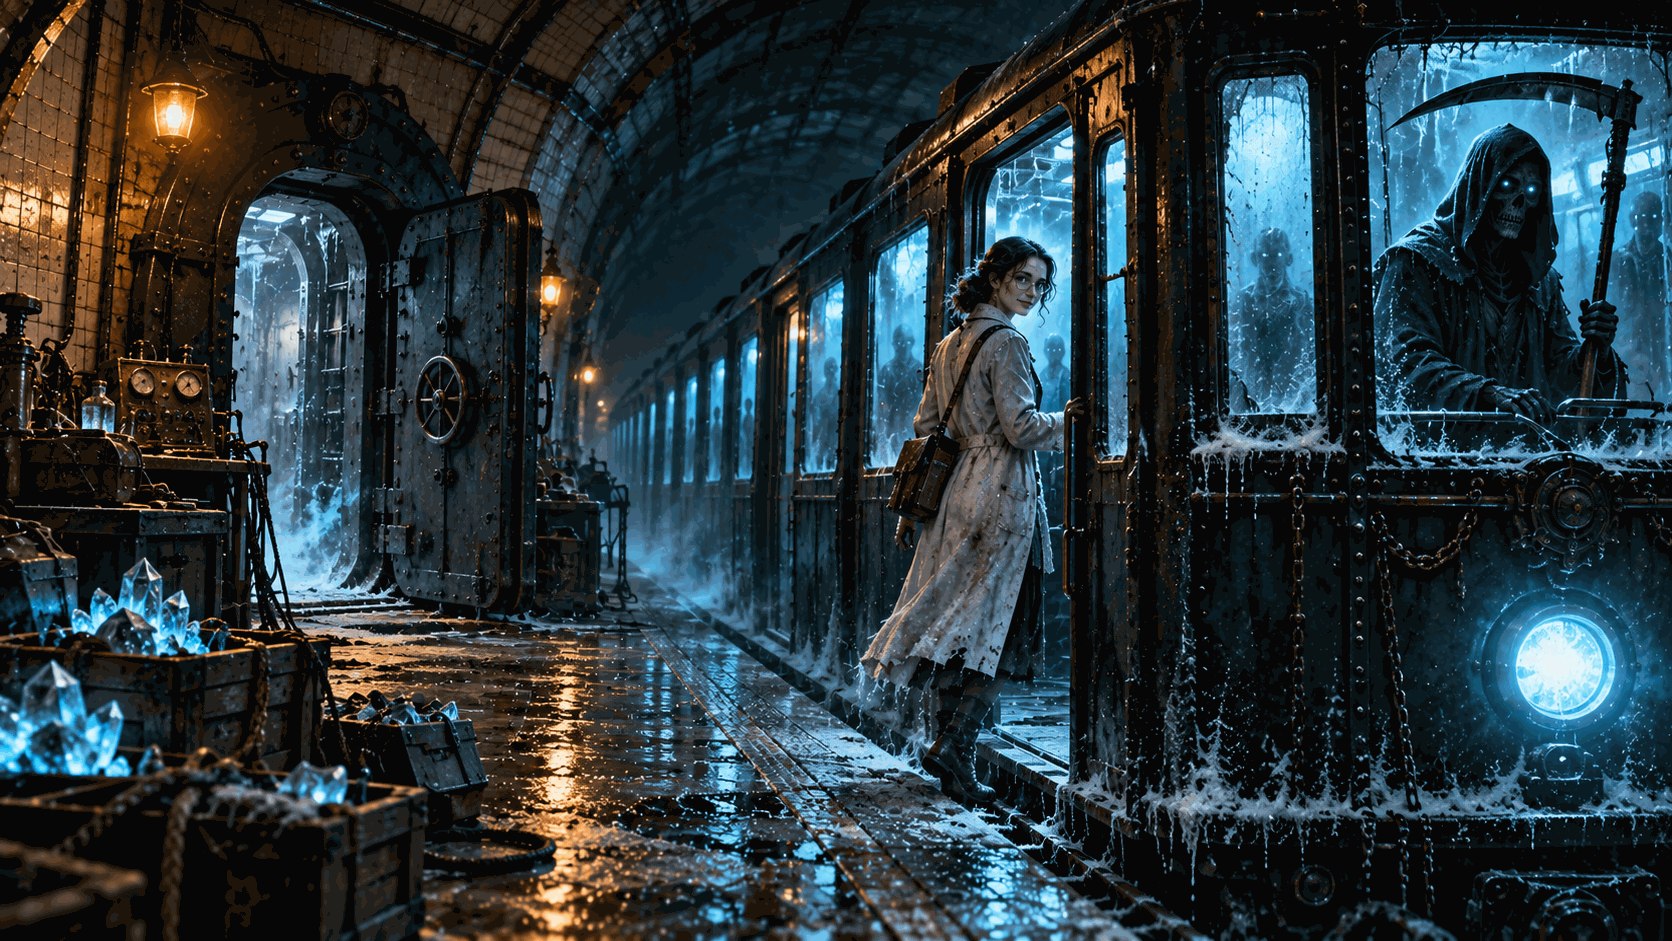
Tonight the Seine obeys the Ankou: the Seal will only awaken at the sound of his Handbell, which hangs in the cab of the Last Metro.
- Hunting the blue lamps. The Last Metro passes through the station closest to you: first pass 16 s after the pillar, then every 40 to 60 s. It is announced 6 s ahead (handbell, frost on the rails) and slows to 9.5 m/s along the platform. Shoot out the three blue lamps on the roofs of its three cars (one per car). Lamps you shoot out stay out from one pass to the next, dog rounds included.
- The halt. Once the third lamp is out, the train brakes and stops at the platform, doors open. Don’t board: hold the platform. The “The Last Metro” meter fills in 75 s + 10 s per player as long as a standing player is in the station (or in the neighboring tunnels, within 40 m of the end of the platform).
- The Ankou’s pack pours out of the doors nonstop, the Drowned of the frost rise from the track and the ends of the platform, and a rat swarm arrives (two with 3 or more players).
- The Ankou’s Ferryman. At 60%, the cab door opens: a reaper steps onto the platform, scythe in hand (boss bar, as much HP as the Bièvre Warden; a single hit never takes more than 6% of his health, so neither Kaboom, Insta-Kill nor a trap can kill him in one go). His attacks:
- scythe swing in an arc in front of him (3.1 m, 70 damage), wound up for 0.8 s when you are within 2.6 m;
- frost dash: at most every 9 s, he lunges at a player 6–16 m away (0.7 s windup, 45 damage on the way). Get out of his path.
While he stands, the meter stays locked at 95%. He is worth 500 points to his killer.
- At 100%, the Ankou’s Handbell rings, the train leaves empty, and at the pillar the Seal of the Boatmen awakens.
If no one is standing on the platform for 4 s (14 s if a downed player remains), the doors close and the Last Metro leaves without you; its three lamps relight. Nothing else is lost: watch for the next pass. And as always, a player on foot on its track when it passes goes down.
Step 8 — The Seal of the Boatmen and the Cité flood
- Take the Seal of the Boatmen from the foot of the pillar, in the crypt (a buildable part you are holding drops at your feet). If its carrier goes down or leaves, it returns to the foot of the pillar.
- Carry it to the caisson door, in the Cité Shaft (east of Cité station, toward the Prefecture), and place it: the Seine breaks into the station. This is the quest’s big defense.
- The “Boatmen’s Levee” meter fills in 180 s of held levee. It only rises while at least one standing player is in Cité or the shaft and three of the four pumps are running.
- The pumps: three on Cité’s platforms, one at the bottom of the shaft. They stall one after another (the first after 12 s, then every 16 s, slightly more often with more players; never more than two at once). Hold F for 1.5 s to restart one. A pump stalled for more than 10 s pushes the levee back by 1% per second.
- The waves:
- Wave 1 (0–35%): a horde of Drowned of the Seine (tunnels, grates, floor) and two rat swarms;
- Wave 2 (35–70%): the Last Metro crosses the station and unleashes the pack (6 hounds + 3 per player), a diver rises from the water at the end of the tunnel (two with 3 or more players), the horde thickens;
- Wave 3 (70–100%): the Bièvre Warden, a corrupted diver (boss bar, HP and helmet × 1.5), marches on the caisson door and pounds it: each blow pushes the levee back by 2%, and while he lives it stays locked at 95%. A pack arrives every 25 s (2 hounds + 1 per player), with rat swarms.
- At 100%, the waters recede, the attackers collapse and the 1944 passage opens toward the Prefecture.
One player on the platform pumps, another near the shaft (pump 4 and the caisson door): when the Warden arrives, focus fire on him before he reaches the door. There is no failure: the meter never drops below 0, and if everyone leaves the station it pauses (attackers and pumps included) until you return.
Step 9 — The Vouivre
Reaching the square
Climb the 1944 passage to the Prefecture courtyard (an MG 42 on the wall and a Gumball dispenser are waiting there: it’s your last chance to get ready). The “Step out onto the forecourt” prompt only works if every standing player is in the courtyard (“Gather in the Prefecture courtyard (n/total)”). Downed players don’t count.
On the signal, the Préfecture gate opens and the arena seals behind you; players left behind are brought onto the square. Round spawns are paused, and the Vouivre rises from the flooding Seine 3.5 s later.
Buy your perks, refill your ammo, upgrade your weapons at the Forge of Ys and take a Gumball. Make sure the carrier of Saint Marcel’s Crosier is with you: only they can deliver the finishing blow.
Health and weak point
- HP: 420,000 × number of players × (1 + round ÷ 25). For example 756,000 solo on round 20, or 3,696,000 with four players on round 30. On Easy difficulty her HP is multiplied by 0.6; difficulty also changes the damage of her attacks (× 0.85 on Normal, × 0.5 on Easy and Discovery, × 1.5 on Realistic).
- Her weak point is the Ys stone on her brow: damage × 2.5. Everywhere else on her body, a shot counts normally (neither head nor limbs give a bonus). While stunned she takes × 1.5, which stacks with the stone.
- Explosives deal their raw damage. Kaboom, Insta-Kill, traps and trains do nothing to her. Wonder weapons are weakened against her: Saint Marcel’s Crosier × 0.35, Disintegrator × 0.4, Dahut’s Trident × 0.25.
- A Max Ammo appears in the middle of the team at the start of phases 2 and 3.
- Throughout the fight, a horde of Drowned of the Seine keeps coming (one every 3.2 s solo, 1.7 s with four), with more sprinters each phase. These Drowned don’t count toward the round and can drop power-ups.
Phase 1 — The flood (100 → 66%)
She swims along the quay and attacks roughly every 3 s, never repeating the same attack twice in a row. Her damage stops at 66% until phase 2 begins.
| Attack (announcement) | What happens | Damage | How to avoid it |
|---|---|---|---|
| “She’s diving at the forecourt!” | A line is traced in the snow from the quay toward her target; about 2.5 s later she lunges along it | 75 within 2.6 m of the line | Get off the line as soon as it appears |
| “Mud spit” | Three globs: one on the target, two to the sides. Each leaves a puddle of 3.2 m for 6 s that slows you | 30 at the center, 15 at the edge | Strafe, go around the puddles |
| “Tail strike!” | She sweeps her tail when a player is near the rear of her body, by the quay’s edge | 55 | Stay away from the quay’s edge |
| “The Drowned of the Seine” | She calls 3 running Drowned + 1 per player, who climb over the parapet | — | Keep a crowd-clearing weapon handy |
After “She’s diving at the forecourt!”, she stays beached for 4.2 s on the snow, head turned toward her target: the Ys stone is an easy target then. Empty your magazines into it.
Phase 2 — The south tower and the bells (66 → 33%)
“The Vouivre coils around the tower”: she climbs Notre-Dame’s south tower and is invulnerable while perched there.
- The chimeras awaken: the gallery’s gargoyles break away and swoop at you, up to 3 + 1 per player at a time. They have stone armor (damage × 0.5 until they lose 25% of their health; the crosier ignores this armor), claw for 35 and leap 4 to 10 m.
- The breath of the Bièvre (“Take cover behind an obstacle!”): from the tower, a cloud with a 5.5 m radius follows its target for 3.2 s (12 damage every 0.5 s, up to 84). An obstacle that hides you from her maw protects you. First breath 4 s after she reaches the tower, then every 9 s.
- Shoot down the three bells behind the louvers on the west face of the south tower, from the square: one bullet per bell is enough (“The great bell stirs (n/3)”).
- Three bells: “The great bell tolls!” The Vouivre falls onto the square, stunned for 12 s: she takes × 1.5 (× 3.75 on the stone), and the great bell alone takes 8.25% of her health. Hit her with everything you have.
- If she is still above 33% when the stun ends, she climbs back up the tower; the bells reappear 20 s later. A first volley can’t take her below 49.5%: you need at least two volleys of bells.
Assign a shooter for the bells (a sniper rifle or an accurate assault rifle) while the others handle the chimeras. Always have cover in mind for each breath.
Phase 3 — Nec mergitur (33 → 0%)
“Nec mergitur”: enraged, she crawls across the whole square, and the Seine overflows: the water rises from the quay, and players caught in the flood are slowed. She attacks roughly every 2 s:
| Attack | What happens | Damage | How to avoid it |
|---|---|---|---|
| Bite (no announcement) | Her jaws snap in front of her, from 3.5 to 8.5 m | 75 | Don’t stand in front of her at mid-range |
| “She’s charging!” | She crouches for 1.4 s facing a line traced on the ground, then rushes at 20 m/s for up to 38 m | 80 | Get off the line |
| “The breath of the Bièvre” | An 11 m cone in front of her for 2.7 s | 12 every 0.5 s (up to 72) | Take cover, or get behind her |
| Tail strike | As in phase 1 | 55 | Stay away from the rear of her body |
| “The Ankou’s pack” | 3 hounds + 1 per player burst from the frost, 7 s into the phase and then every 24 s | — | Kill them quickly, they drop no power-ups |
Her HP can’t drop below 1: only the crosier can finish her.
The finishing blow
Drained, “the Vouivre collapses” and drags herself to the middle of the square; the horde stops. The carrier of Saint Marcel’s Crosier (in their inventory, even if not in hand) walks up and holds F for 1.5 s: “Strike the Vouivre with the crosier.”
If no crosier carrier is alive on the square, a 20 s countdown starts (“Without the crosier, the Ys stone cracks on its own…”) and the stone breaks by itself. You still win, but the quest completion XP is reduced (10,500 instead of 15,000).
If no player is alive (standing) on the square for 12 s, the Vouivre dives back in: the arena reopens and the round resumes. The “Step out onto the forecourt” prompt comes back: everything restarts at phase 1, with full HP.
Strategies
- Solo, keep moving in phase 1 and only shoot the stone while she is beached; in phase 2, alternate between chimeras and bells, always near cover. A large-magazine weapon and a speed perk help a lot.
- In a team, split the roles: a bell shooter, one or two players on chimeras and the horde, and the crosier carrier who stays alive for the end (they can keep a normal weapon in hand).
- In phase 3, never stand in line with her head: the charge and the bite hit in front of her. Circle around her and aim for the stone when she turns.
- Save the Max Ammo from phases 2 and 3 for when you need it: it appears in the middle of the team.
The ending and rewards
With the Ys stone shattered, the Seine withdraws, the bells of Notre-Dame ring under the snow, and at Cluny the Last Metro pulls in before the sealed chamber: Dr. Kervran boards it for her last transmission (“Tell Morgane that Mom kept her promise”). The ending sequence lasts a little over a minute, then the game continues.
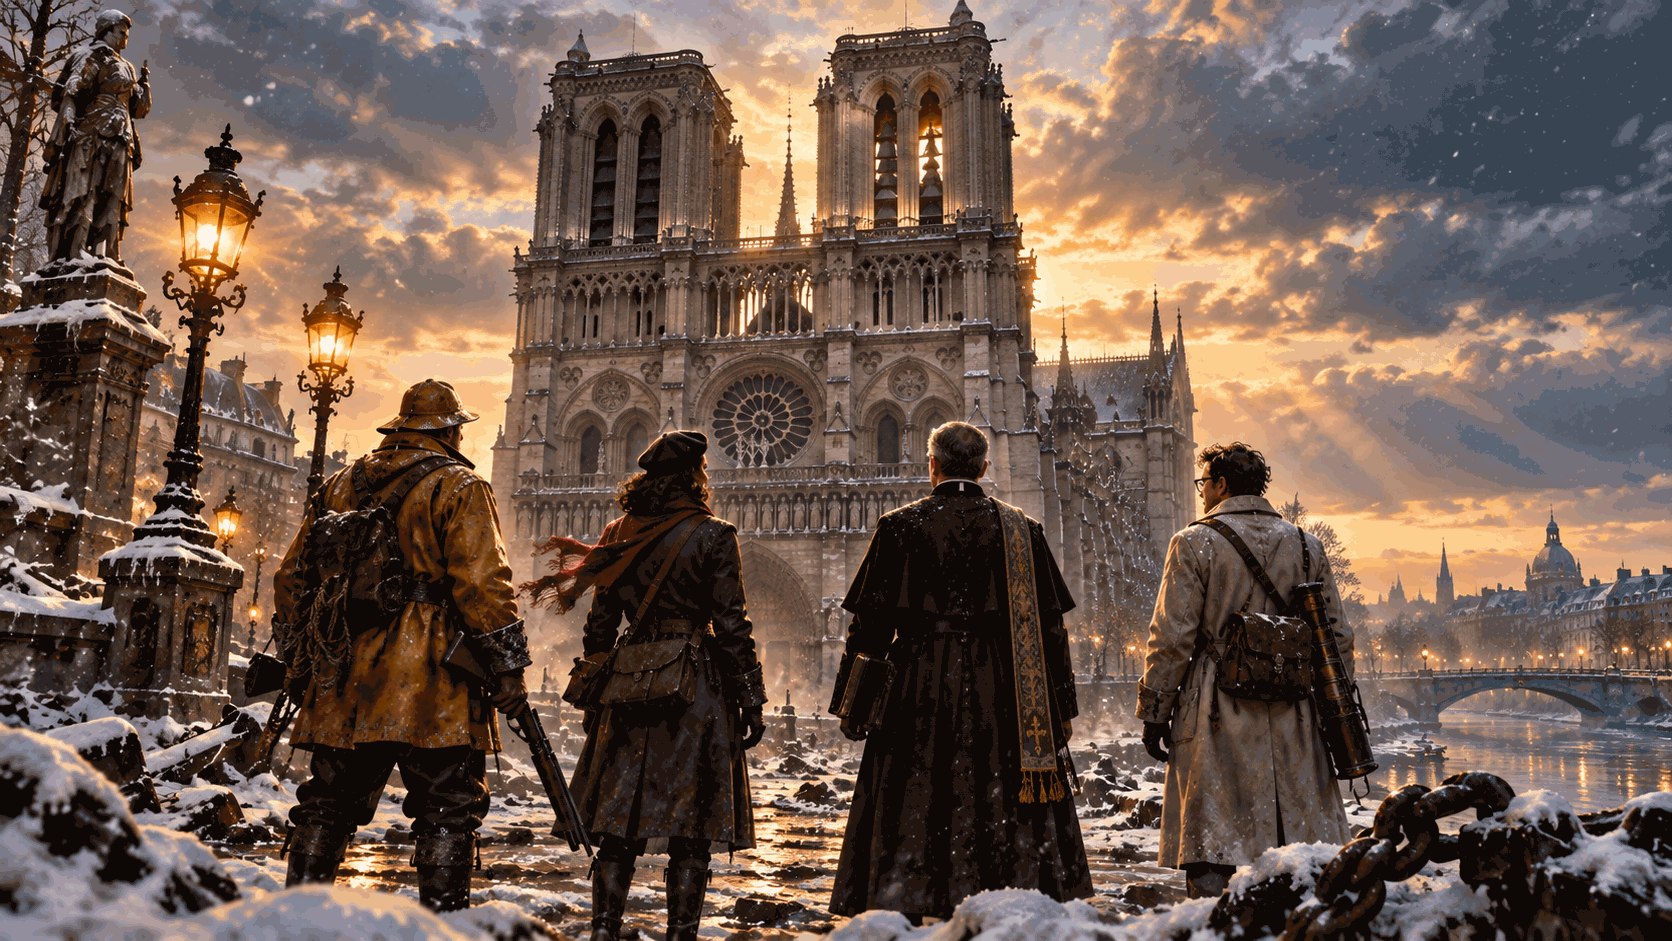
Each player present receives:
- 5,000 XP for the Vouivre and 15,000 XP for the Easter egg (10,500 if the stone broke without the crosier);
- permanent perks for the rest of the match: you no longer lose them when you go down (“The blessing of the Boatmen goes with you”);
- for their profile: the Ship of Paris camo (all weapons), the “Boatman” title and the “The Last Metro” achievement, which grants the “Nec Mergitur” emblem.
Related challenges (see Challenges): “Tossed by the Waves” (complete the Easter egg), “Saint Marcel’s Crozier” (defeat the Vouivre), “Metro Rat” (Paris secrets) and one challenge per step: “The Power Returns,” “Interlocking,” “The Seal of the Boatmen,” “The Last Stop,” “The Boatmen’s Levee.”
Secret achievements
- “Nec mergitur”: complete the Easter egg solo.
- “Fare dodger”: get fined by the ticket inspector in the first-class car (see the map’s secrets).
| Name | Reward |
|---|---|
| The Last Metro Complete the main Easter egg on Nec Mergitur. | Emblem “Nec Mergitur” |
| Secret achievement Find it by playing. | — |
| Faster than the Last Metro Complete the main Easter egg on Nec Mergitur in under 90 minutes. | — |
| Secret achievement Find it by playing. | — |
| Terminus Reach round 30 on Nec Mergitur. | — |
Solo or in a team
Everything can be done alone. Numbers and durations grow with the team (number of players when the trial starts):
| 1 player | 2 players | 3 players | 4 players | |
|---|---|---|---|---|
| Backup power (junction) | 70 s | 80 s | 90 s | 100 s |
| Drowned killed by lightning (Jupiter) | 40 | 50 | 60 | 70 |
| Drowned killed with the crosier (Ésus) | 40 | 50 | 60 | 70 |
| Stone cranes (Tarvos) | 3 | 3 | 3 | 3 |
| Drowned crushed (Cernunnos) | 25 | 31 | 38 | 44 |
| The Last Metro’s halt | 85 s | 95 s | 105 s | 115 s |
| Boatmen’s Levee (flood) | 180 s | 180 s | 180 s | 180 s |
| Wave 2 hounds (flood) | 9 | 12 | 15 | 18 |
| Vouivre HP | × 1 | × 2 | × 3 | × 4 |
Also: a diver in the junction with 2 or more players, a second rat swarm (junction, halt) with 3 or more, two divers in the flood with 3 or more. Solo, the crosier carrier has to do everything: keep it on you until the very end.
An achievement rewards finishing the quest in under 90 minutes. To save time, do the Tarvos trial while traveling between locations by train, and let the trains crush Drowned (Cernunnos) during the other trials.
Checked against the game on November 9, 2026