
Modules and augments
Every station in the Hideout is a module to restore and then upgrade. Costs are paid in francs and in materials from the stash (where to find them: Loot and materials), and each level takes real-time works.
How works work
- Open the station (hold F): the work order lists the supplies, the duration, the prerequisites and what you already have.
- “Start works”: francs and materials are taken right away.
- The level is gained when the job is done, even if you’re offline. One job at a time per module, several modules at once.
- Prerequisites refer to Generator levels already gained: a generator still under works doesn’t count.
When a module can be started right away (prerequisites met, enough to pay, no job under way), The Hideout entry of the main menu says so (“You can build”), and a marker shows it inside the Hideout.
Materials in italics below are rare or ultra-rare enemy components, or legendary boss materials.
Generator
An old Kriegsmarine generator: without power, nothing runs. Each level powers one more level of the other modules.
| Level | Supplies | Duration | Effects |
|---|---|---|---|
| 1 | 1,000 F, Scrap ×10 | 20 min | Light in the bunker, powers level 1 modules |
| 2 | 5,000 F, Scrap ×25, Radio tubes ×8, Pocket watch ×2 | 2 h | Powers level 2 modules |
| 3 | 13,000 F, Scrap ×40, Radio tubes ×15, Diving brass ×4, Diving porthole ×3, Pocket watch ×3 | 6 h | Powers level 3+ modules |
Stash
What goes in is safe. Its level sets the room per material (anything above that is lost when you bring it back) and the secure pocket (most valuable units kept even if the match is lost). It starts at level 1, and its level 2 is on the house: free and instant, it is the first upgrade the Hideout guides you to (The Hideout).
| Level | Supplies | Duration | Prerequisite | Room per material | Secure pocket |
|---|---|---|---|---|---|
| 1 | (starting level) | — | — | 60 | 3 |
| 2 | Free | — | — | 120 | 5 |
| 3 | 8,000 F, Oilcloth ×30, Blessed wax ×8, Diving brass ×3, Pocket watch ×3, Ankou fang ×2 | 4 h | Generator 2 | 250 | 8 |
| 4 | 17,000 F, Oilcloth ×40, Powder ×20, Diving brass ×8, Pocket watch ×5, Diving porthole ×3, Anaon soul ×1 | 12 h | Generator 3 | 500 | 12 |
Workbench
Yann-Ber’s workbench: this is where you craft the consumables for the Hideout loadout. Each level adds a loadout slot and new recipes.
| Level | Supplies | Duration | Prerequisite | Effects |
|---|---|---|---|---|
| 1 | 1,500 F, Scrap ×15, Powder ×5 | 30 min | Generator 1 | 1 slot; Purse, Grenade crate |
| 2 | 6,500 F, Scrap ×30, Powder ×15, Radio tubes ×10, Ankou fang ×2 | 3 h | Generator 2 | 2 slots; Leather vest, Survival kit |
| 3 | 15,000 F, Scrap ×40, Powder ×25, Diving brass ×8, Ankou ember ×4, Ankou fang ×4, Ember heart ×1 | 8 h | Generator 3 | 3 slots; Ankou’s Medal |
Recipes
Crafting is instant (no waiting), one unit at a time, 99 in stock at most per consumable. Detailed effects: Extraction.
| Consumable | Workbench | Cost | Effect |
|---|---|---|---|
| Purse | lvl 1 | 300 F, Scrap ×3 | +1,000 points at the start of the match |
| Grenade crate | lvl 1 | Powder ×5, Scrap ×3 | +2 lethal grenades at the start of the match |
| Leather vest | lvl 2 | Oilcloth ×8, Scrap ×4, Diving brass ×2 | +50 max health until you first go down |
| Survival kit | lvl 2 | Blessed wax ×5, Oilcloth ×3, Ankou ember ×1 | Gets you back up on your own once; returned if unused and you extract |
| Ankou’s Medal | lvl 3 | Blessed wax ×10, Ankou ember ×2, Anaon soul ×1 | Saves your bag if the match is lost; returned if you extract |
Radio set
Voices on the band offer work for francs: this week’s contracts and, from level 1, the daily order. Details: Radio contracts.
| Level | Supplies | Duration | Prerequisite | Effects |
|---|---|---|---|---|
| 1 | 2,000 F, Radio tubes ×10, Scrap ×10 | 30 min | Generator 1 | 1 contract per week, daily order |
| 2 | 8,000 F, Radio tubes ×20, Blessed wax ×5, Pocket watch ×2 | 3 h | Generator 2 | 2 contracts per week |
| 3 | 15,000 F, Radio tubes ×25, Ankou ember ×8, Chimera shard ×3, Stolen ring ×3, Chimera claw ×2 | 8 h | Generator 3 | 3 contracts per week, rewards +50% |
Korrigan’s Still
The Korrigan distills Moon Nectar in the cellar, day and night, even when you’re not playing. Vials pile up in the reserve; “Collect” moves the full vials into your Moon Nectar stock (the partial one stays). Once the reserve is full, production stops: remember to collect.
| Level | Supplies | Duration | Prerequisite | Production | Reserve |
|---|---|---|---|---|---|
| 1 | 3,500 F, Blessed wax ×5, Scrap ×10, Ankou ember ×5 | 1 h | Generator 1 | 1 vial per day | 2 |
| 2 | 10,500 F, Blessed wax ×10, Ankou ember ×15, Diving brass ×6, Ankou fang ×3 | 4 h | Generator 2 | 2 vials per day | 4 |
| 3 | 18,000 F, Blessed wax ×12, Ankou ember ×30, Coral crown ×1, Ember heart ×1 | 10 h | Generator 3 | 3 vials per day | 6 |
Shooting range and weapon rack
A shooting gallery dug into the trench. The weapon rack offers all your unlocked weapons, with your Gunsmith builds and camos, unlimited ammo. The readout board records damage, headshot, distance and time to kill.
| Level | Supplies | Duration | Prerequisite | Effects |
|---|---|---|---|---|
| 1 | 500 F, Scrap ×10 | 10 min | — | Fixed targets at 10, 25 and 40 m; weapon rack |
| 2 | 5,500 F, Scrap ×20, Powder ×10, Radio tubes ×5, Pocket watch ×2 | 2 h | Generator 1 | Moving targets, Drowned dummies, damage readout |
Targets have a Drowned’s base health at the chosen simulated round (up to round 60, without difficulty): perfect for finding out how many bullets a weapon, or a forged weapon, needs at round 30. The Drowned dummies walk slowly toward the firing line and never attack.
Trying a skin from the shop (The shop) happens here, on a range lent at level 2: Drowned dummies of round 1, the skinned weapon in hand, even if your own range is still rubble.
Trophy room
The casemate facing the sea. Once restored (4,000 F, Oilcloth ×20, Blessed wax ×5, 1 h, Generator 1), you mount trophies there, once each; every trophy grants a title.
| Trophy | Cost | Title earned |
|---|---|---|
| Diver’s helmet | Diving brass ×20 | Wreck Raider |
| Dahut’s crown | Coral crown ×1 (Dahut, Ker-Ys) | Crown Thief |
| Scale of the Vouivre | Vouivre scale ×1 (the Vouivre, Nec Mergitur) | Vouivre Flayer |
| Chimera’s maw | Chimera shard ×6 | Gargoyle Carver |
Korrigan’s Workshop
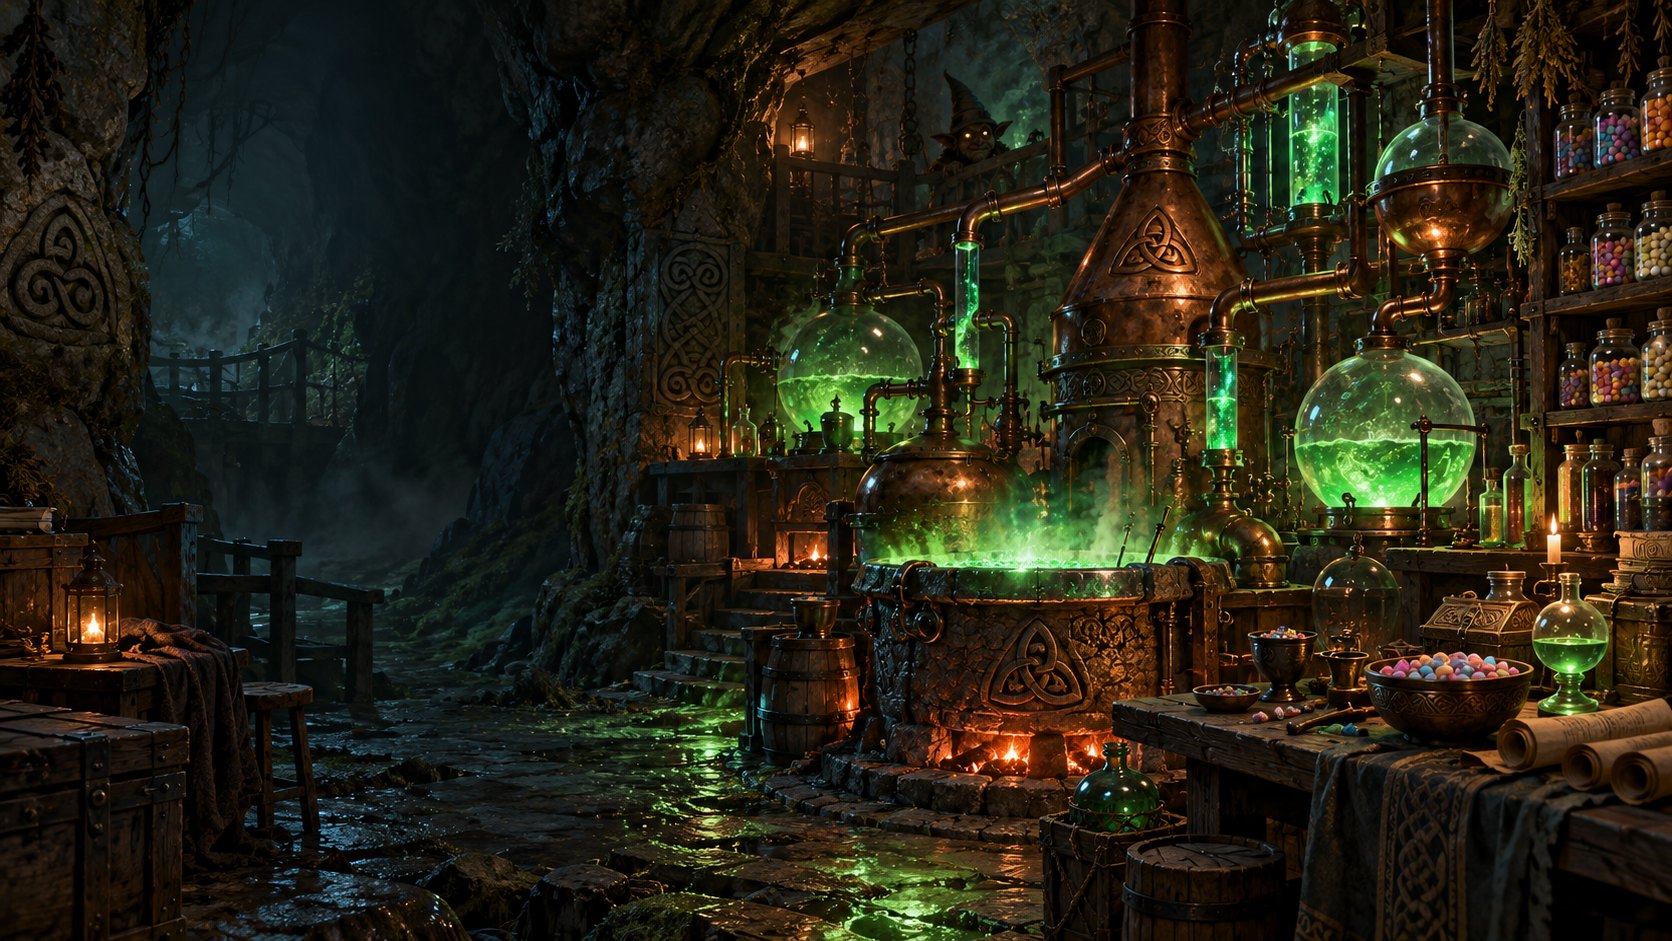
The Korrigan’s machines turn Moon Nectar into Megas (consumable gumballs, Korrigan’s Gumballs). They lie in pieces in the cellar: each level puts one back together. How it works: Moon Nectar and the Korrigan’s Workshop.
| Level | Supplies | Duration | Prerequisite | Machine |
|---|---|---|---|---|
| 1 | 2,000 F, Blessed wax ×5, Ankou ember ×5, Scrap ×10 | 30 min | Generator 1 | The Retort: 1 vial → 3 Megas |
| 2 | 5,500 F, Ankou ember ×10, Diving brass ×4, Scrap ×15, Stolen ring ×2 | 3 h | Generator 2 | The Cauldron: 4 vials → 3 Rare or Ultra-Rare Megas |
| 3 | 12,000 F, Ankou ember ×15, Diving brass ×6, Vouivre scale ×1, Rat king ×1 | 8 h | Generator 3 | The Great Still: 10 vials → 3 Ultra-Rare Megas |
Odds per Mega drawn: the Retort gives 68% Megas, 27% Rares, 5% Ultra-Rares; the Cauldron 80% Rares, 20% Ultra-Rares; the Great Still only Ultra-Rares. A Mega is only spent when the gumball machine hands it to you in a match.
Keller’s Laboratory
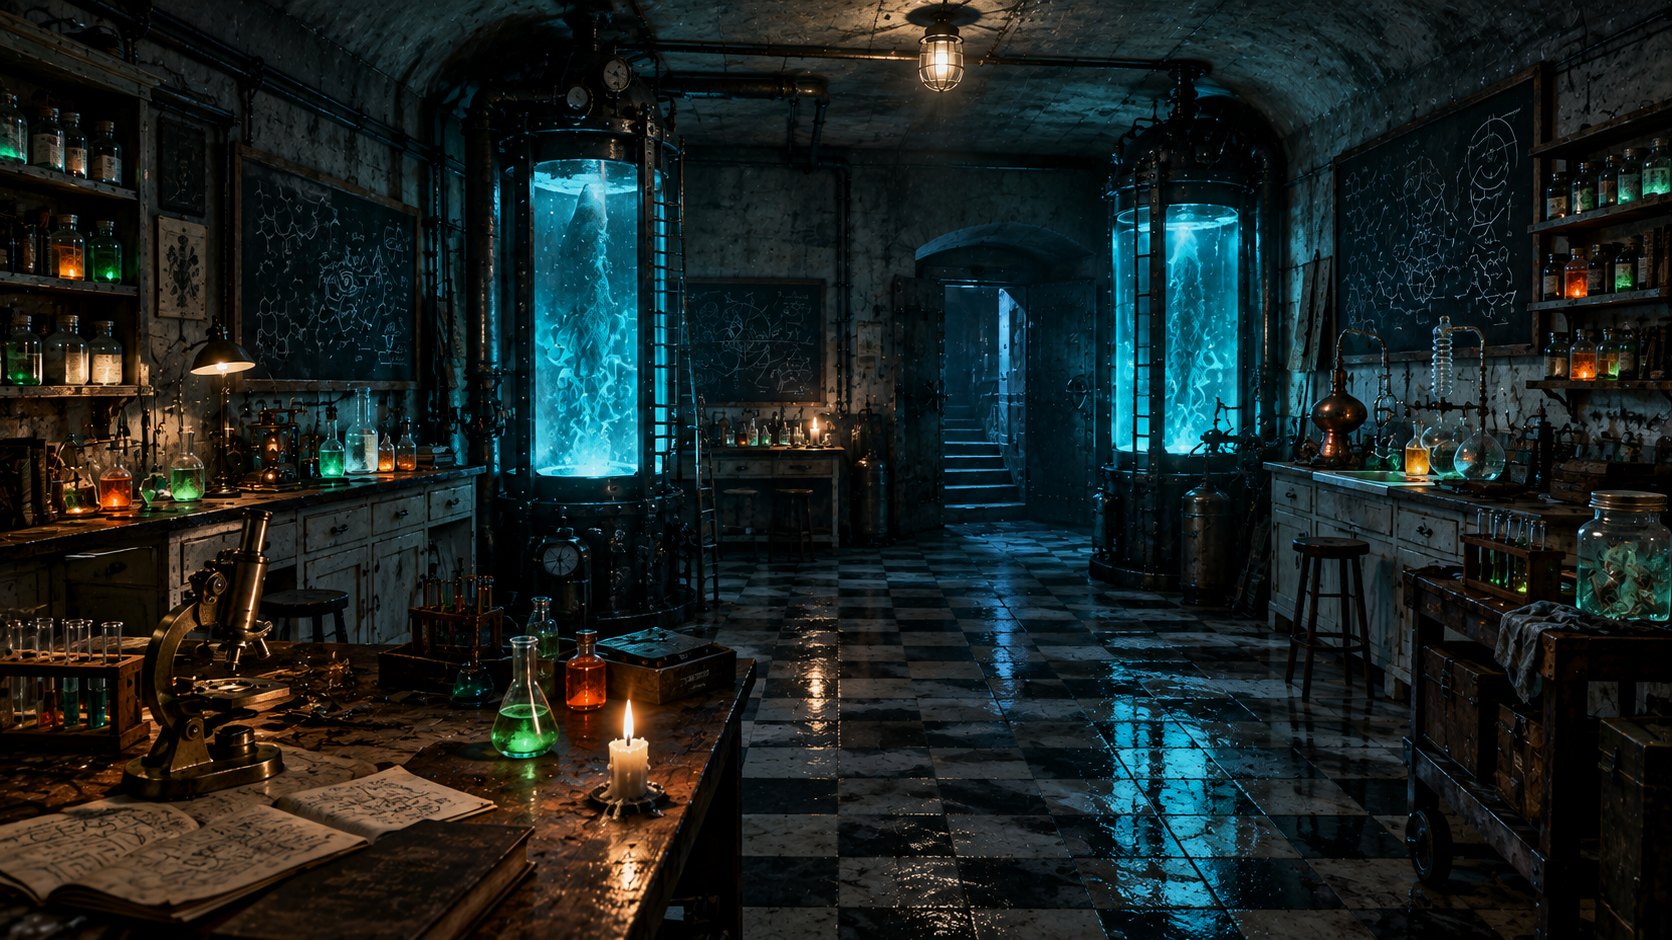
Dr. Keller studies the drinks from the machines. Every perk gains three augments to research (30 in all); all of them can be equipped together, and each works in matches as long as you have the perk. A perk’s n-th augment needs the Laboratory at level n.
| Level | Supplies | Duration | Prerequisite | Effects |
|---|---|---|---|---|
| 1 | 1,500 F, Radio tubes ×10, Oilcloth ×10 | 1 h | Generator 1 | 1st augment of each perk, 1 research project at a time |
| 2 | 6,500 F, Radio tubes ×12, Blessed wax ×5, Diving brass ×4, Diving porthole ×2 | 4 h | Generator 2 | 2nd augment, 2 research projects at a time |
| 3 | 14,000 F, Radio tubes ×16, Ankou ember ×10, Diving brass ×8, Chimera shard ×2, Chimera claw ×2, Pearl of Ys ×1 | 10 h | Generator 3 | 3rd augment, 3 research projects at a time |
- Research is paid when it starts and runs in real time: 1 h for a 1st augment (500 F), 3 h for a 2nd (1,800 F), 8 h for a 3rd (3,500 F), plus the materials below.
- A finished augment is equipped automatically, alongside the ones already equipped (same perk included). At the laboratory, “Remove” takes an augment off and “Equip” puts it back, whenever you like: all, some or none.
- What each augment does: perk entries, Perks.
| Perk | 1st (500 F, 1 h) | 2nd (1,800 F, 3 h) | 3rd (3,500 F, 8 h) |
|---|---|---|---|
| Menhir | Granite: Oilcloth ×8, Scrap ×4 | Rolling stone: Oilcloth ×10, Wax ×3, Brass ×2, Watch ×2 | Last bulwark: Oilcloth ×12, Wax ×3, Ember ×4, Brass ×4, Watch ×3, Soul ×1 |
| Quicksilver | Quick hand: Scrap ×8, Powder ×4 | Hurried step: Powder ×10, Tubes ×3, Brass ×2, Fang ×2 | Hot blood: Powder ×12, Tubes ×3, Ember ×4, Brass ×4, Fang ×3 |
| Lead Hail | Hide piercer: Powder ×8, Scrap ×4 | Volley: Powder ×10, Ember ×3, Brass ×2, Porthole ×2 | Miser: Powder ×12, Ember ×7, Brass ×4, Porthole ×3, Pearl ×1 |
| Second Wind | Outstretched hand: Oilcloth ×8, Scrap ×4 | Long arm: Oilcloth ×10, Wax ×3, Brass ×2, Watch ×2 | Unkillable: Oilcloth ×12, Wax ×3, Ember ×4, Brass ×4, Watch ×3, Soul ×1 |
| Marathon | Long haul: Oilcloth ×8, Scrap ×4 | Will-o’-the-wisp: Oilcloth ×10, Ember ×3, Brass ×2, Fang ×2 | Tailwind: Oilcloth ×12, Ember ×7, Brass ×4, Fang ×3 |
| Lynx Eye | Gull shot: Powder ×8, Scrap ×4 | Quick glance: Scrap ×10, Tubes ×3, Brass ×2, Claw ×2 | Hunter: Scrap ×12, Tubes ×3, Ember ×4, Brass ×4, Shard ×1, Claw ×3, Eye ×1 |
| Mule | Sturdy pack: Scrap ×8, Oilcloth ×4 | Bandoliers: Powder ×10, Ember ×3, Brass ×2, Ring ×2 | Haversack: Powder ×12, Ember ×7, Brass ×4, Ring ×3 |
| St. Elmo’s Fire | Great fire: Scrap ×8, Powder ×4 | Rosary: Scrap ×10, Tubes ×3, Brass ×2, Porthole ×2 | Riposte: Scrap ×12, Tubes ×3, Ember ×4, Brass ×4, Porthole ×3, Heart ×1 |
| Carapace | Cannonball: Powder ×8, Scrap ×4 | Demolitionist: Powder ×10, Ember ×3, Brass ×2, Fang ×2 | Crab shell: Oilcloth ×12, Ember ×7, Brass ×4, Fang ×3 |
| Ankou’s Web | Spinner: Oilcloth ×8, Scrap ×4 | Venom: Oilcloth ×10, Wax ×3, Brass ×2, Ring ×2 | Wide web: Oilcloth ×12, Wax ×3, Ember ×4, Brass ×4, Ring ×3 |
Abbreviations: Blessed wax, Ankou ember, Diving brass, Radio tubes, Chimera shard; Pocket watch, Ankou fang, Diving porthole, Chimera claw, Stolen ring, Anaon soul, Ember heart, Pearl of Ys, Chimera eye.
Total cost and suggested order
- Every module maxed out: 175,500 F and about 92 hours of works in total (spread across several modules in parallel). All 30 perk augments: 58,000 F and 120 hours of research, up to 3 at a time.
- Early: Stash 2 (free), Generator 1, Radio set 1 (daily order), Shooting range 1, Workbench 1, Laboratory 1 and the first 500 F augments for the perks you always buy.
- Mid: Still 1 as early as possible (it produces nonstop), Generator 2.
- Late: level 3 upgrades need ultra-rares (Anaon soul, Ember heart, Pearl of Ys, Rat king) and boss materials; go after them with deep extractions and the daily order (an ultra-rare every 7 days of streak, Loot and materials).
The Stolen ring and the Rat king only drop from metro rats, the Chimera claw and eye only from chimeras: play Nec Mergitur for Radio set 3, Workshop 2 and 3, and Laboratory 3. The daily order hands some out too.
Checked against the game on November 8, 2026